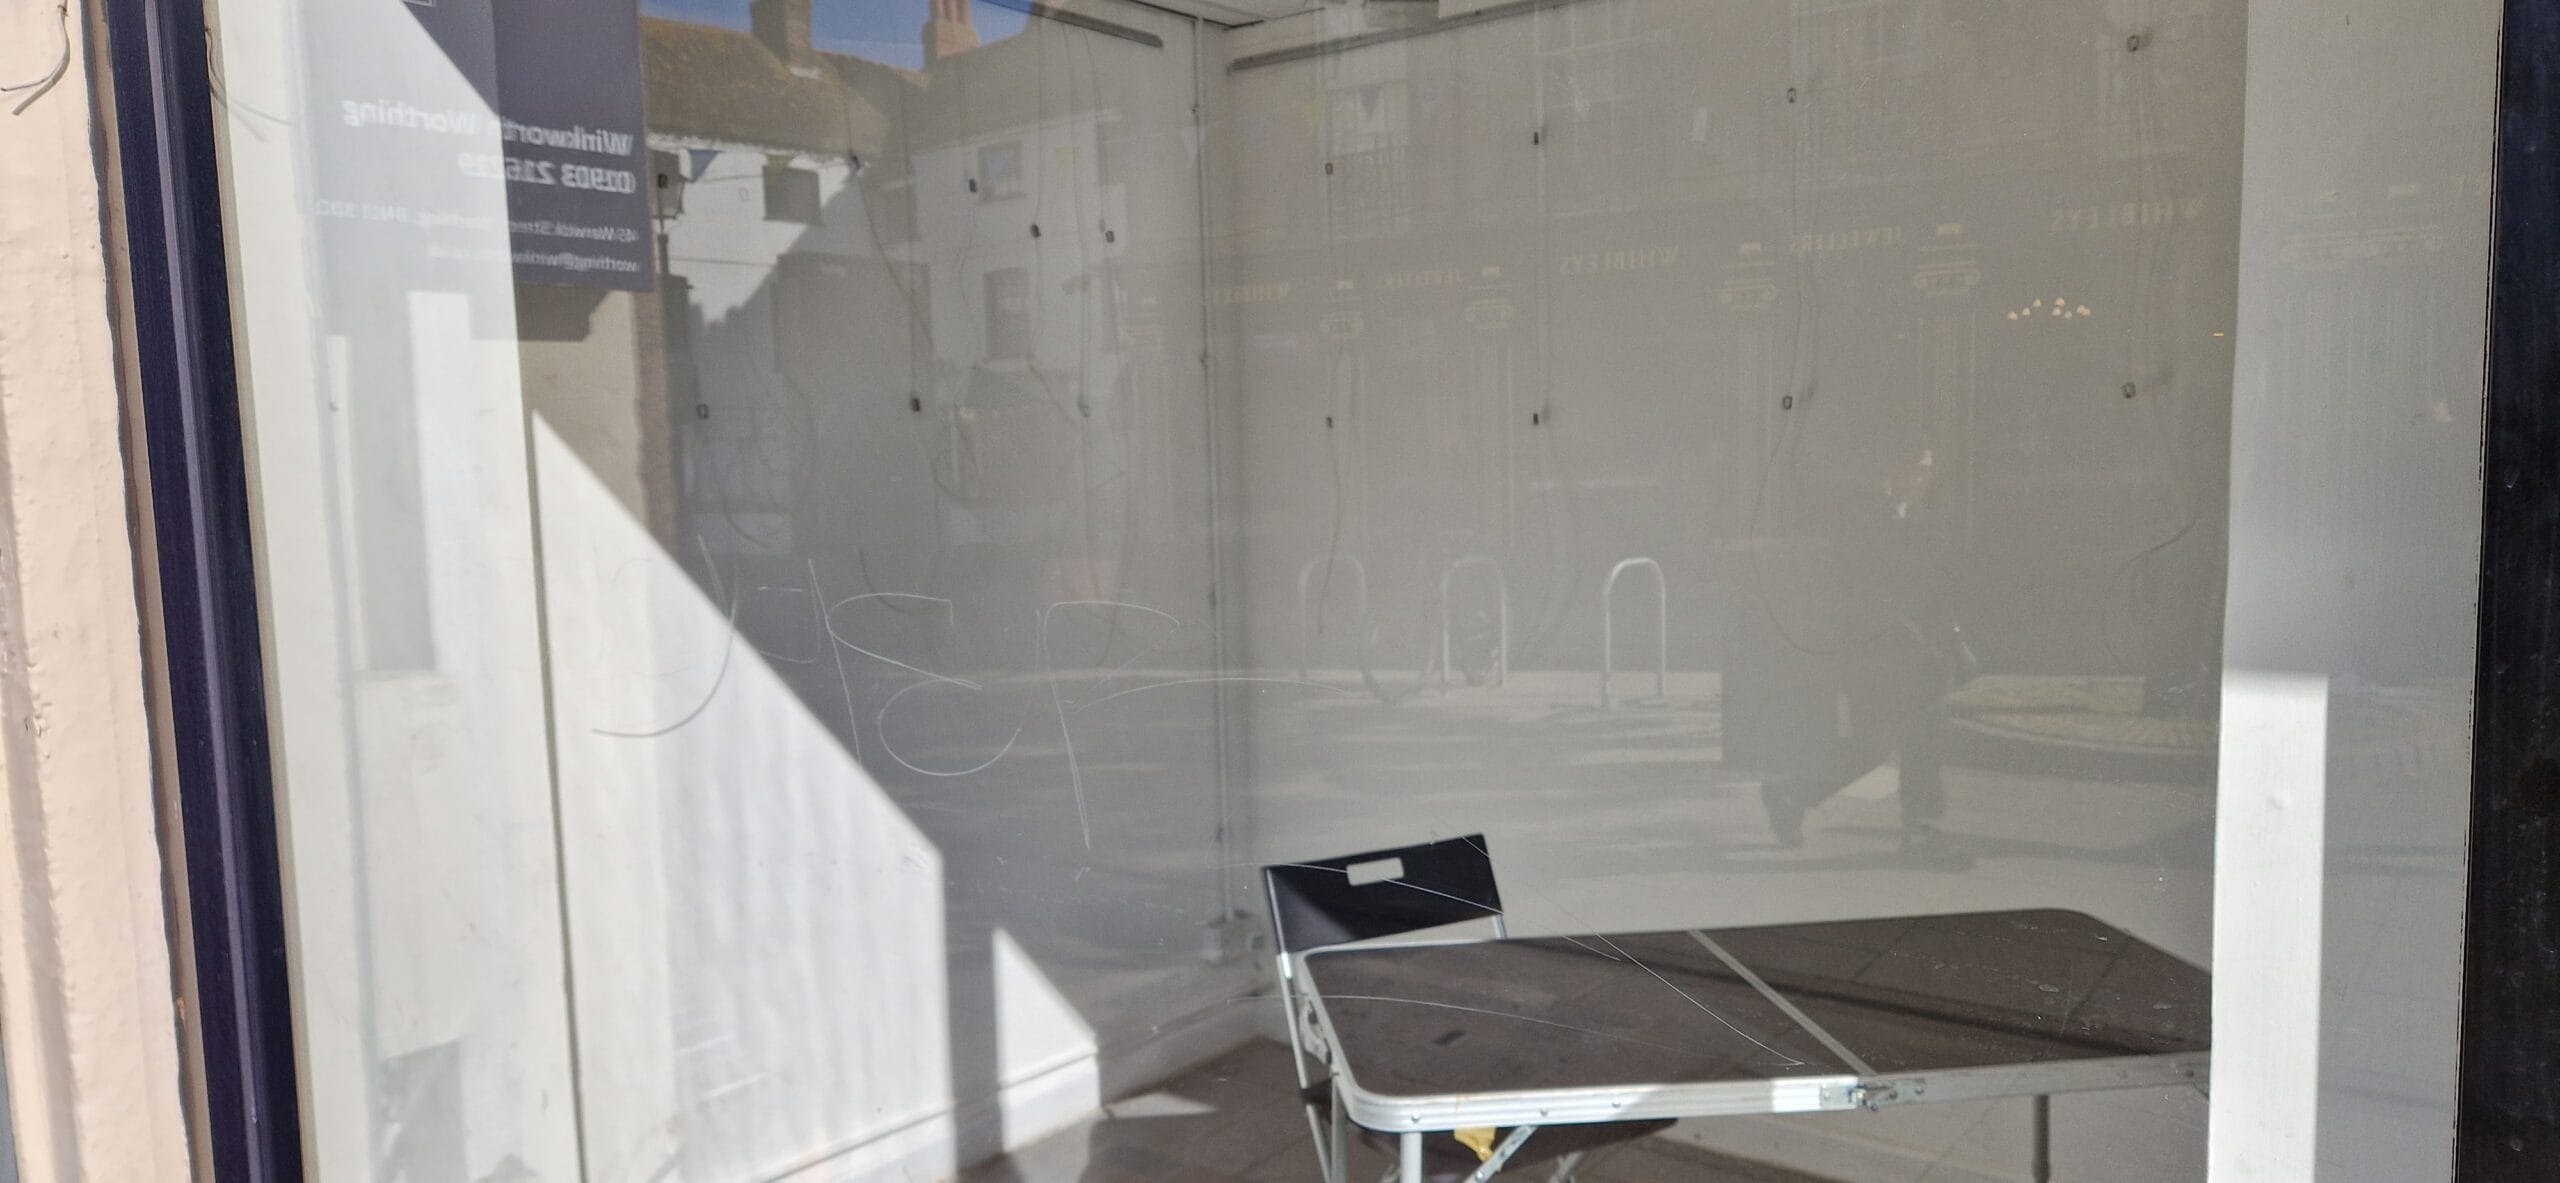
In this Scratch Graffiti Blog we have a shop owner that has had a graffiti “tag” scratched across their window
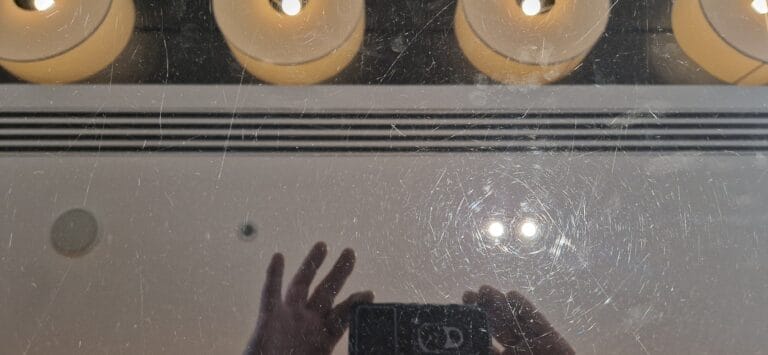
Not only had the graffiti “tag” been scratched quite deep into the glass it also covered a large area going pretty much across the entire window ruining the look of the shop

Scratch Graffiti Blog
Stage 1. Remove glass scratch graffiti “tag”
Starting with our 2nd roughest grit cutting disc we begin to remove the glass on the scratch graffiti “tag”
We cut the glass growing the area evenly so as not to distort the glass during the glass polishing process until all visible traces of the glass scratch graffiti “tag” are removed
The main focus of this stage is keeping the glass flat whilst removing the scratch graffiti “tag”
Once we are happy with our area we move on the the next stage

Stage 2. Remove all traces of previous glass polishing process
We now cut the glass again but this time with a finer grit cutting disc
By now the glass scratch graffiti “tag” should be gone so the main focus of this stage is working the area evenly as one to guarantee the full removal of the previous stage whilst still keeping the glass flat so as not to distort it during the glass polishing process
When we have gone over our area 2-3 times, not forgetting to slightly increase its size, we check that all traces of the previous glass polishing stage and all of the glass scratch graffiti “tag” is removed
Once we are happy with our area we move on to the next stage
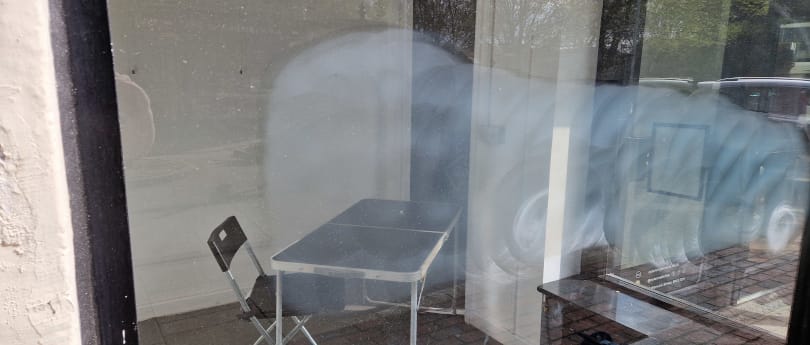
Stage 3. Remove all traces of previous glass polishing process
We once again cut the glass but this time with an even finer grit cutting disc
As with the previous stage the glass scratch graffiti “tag” should be gone so the main focus of this stage is working the area evenly as one to guarantee the full removal of the previous stage whilst still keeping the glass flat so as not to distort it during the glass polishing process
When we have gone over our area 2-3 times, not forgetting to slightly increase its size, we check that all traces of the previous glass polishing stage and all of the glass scratch graffiti “tag” is removed
Once we are happy with our area we move on to the next stage

Stage 4. Remove all traces of previous glass polishing process
We now cut the glass for the final time, once again with an even finer grit cutting disc
The main focus of this stage is again working the area evenly as one to guarantee the full removal of the previous stage whilst still keeping the glass flat so as not to distort it during the glass polishing process
When we have gone over our area 2-3 times, not forgetting to slightly increase its size, we check that all traces of the previous glass polishing stage and all of the glass scratch graffiti “tag” is removed
Once we are happy with our area we move on to the final stage, polishing

Stage 5. Polish the glass to restore its clarity
We have now cut the glass to a point where the cut is fine enough to be polished out
We now use a polishing pad and polish to remove the previous stage and to bring the glass back to its original clarity
When we have gone over our area 2-3 times we check that all traces of the previous glass polishing stage and all of the glass scratch graffiti “tag” is gone
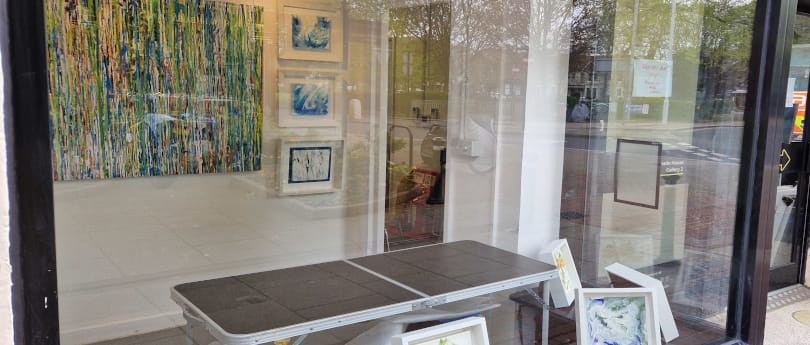
The job has now been completed
We have now come to the end of our Scratch Graffiti Blog
All of the glass scratch graffiti “tag” has been fully removed from the glass and all traces of the glass polishing process are gone
The glass is once again back to its original glass scratch graffiti free condition and clarity, all in a matter of hours and at a fraction of the cost of replacement


